4 Tips for Building the Perfect Fence
 You’ve become an expert in landscaping throughout the region. From planting trees and flowers to installing decks and curb edging, you’ve completed many projects for satisfied customers. Now it’s time to step up your game and add fence installation to your services.
Let these fence-building tips lead you to success.
1. Get Answers.
Start like you would with any project, by working with the homeowner or business owner to establish the size, scope and specifics of the project. To do this, always have a set of questions ready that will get to the heart of the project. What kind of fence does the customer want? What will the layout be? Where do they want gates? How high should you build it?
Check with city building codes and, if applicable, neighborhood association rules, so that the fence specs meet all of the codes. If the city assessor has not surveyed the property recently, you’ll want to coordinate that to ensure the fence is built in the proper location and, depending on the area, you may need a permit. Call 811 a few days prior to digging to have utility companies mark underground utility lines, gas pipes and sprinkler systems.
2. Get Your Tools.
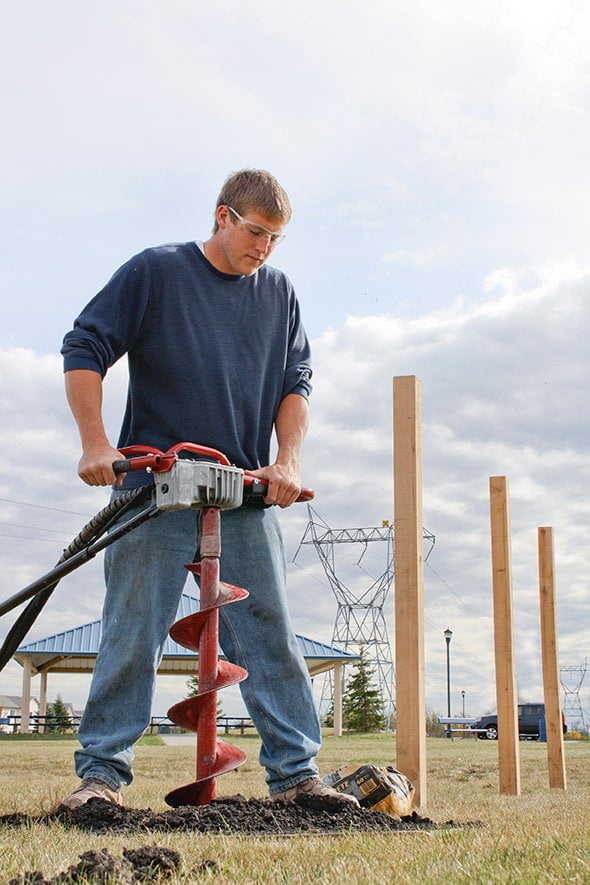
Selecting the right hole digging equipment will help you finish on time and on budget. If it’s a small project, you might use a hand-held posthole digger. If you’re doing more than a dozen holes, though, it will be slow work to muscle each hole clean. To tackle bigger or multiple projects, you’ll want the speed and ease-of-use that comes with an earth drill. A Little Beaver mechanical one-man or hydraulic drill can bore each hole in less than a minute with little effort. It’s equally important is to make sure you select the correct auger, points and blades for the soil type you’re working in. This will help you dig holes faster with less pain.
3. Get it Straight.
You can’t get a straight fence without evenly spaced holes and firmly set posts. Set the spacing by marking and digging all corner and gate post holes first. Run a string from corner to corner and then measure the post spacing along the line.
For chain link fences, space postholes no more than 10 feet apart. For wooden fences, posts usually stand 6 to 8 feet apart. If installing posts in soft soils or windy areas, use a hand posthole digger to flare out the hole, creating a bell shape for more stability. The hole diameter needed is based on the size of the post used. For instance, a 4-by-4 post requires an 8-inch diameter hole. This can be easily achieved with Little Beaver’s snap-on augers that range in diameter from 1.5 to 16 inches. Holes are typically 24 inches deep, but you’ll need to ensure the depth is 3 inches below the frost line to prevent posts from cracking in the frozen ground. In some parts of the northern U.S. and into Canada, that means going as deep as 4 feet. If you’re in windy areas or sandy soil, you may want to dig your posts even deeper.
4. Get the Concrete.
Position the posts so that they are the correct height and plumb; even the slightest lean can create a slanted and potentially unstable fence. Next, shovel concrete into each hole. Avoid touching the post, which could cause it to move. Choosing concrete rather than a dirt and gravel mix will give the fence better stability. Allow 24 hours for the concrete to set, and then attach the chain link fabric or wood framing and face boards. With both types of fences, complete the gates last.
Once you’re done, it’s an ideal time to touch base with your customer on fence maintenance and landscaping recommendations. A job well done here can translate to more work, whether from this customer or referrals, as you continue to expand your landscaping services.
Feel free to contact us for further fence-building tips; or general questions on our full line of augers, one-man earth drills and two-man earth drills. We’re always happy to provide the tools and assistance you need.